Step 1: [Modpack Creators Only] Setting up a Datagen Environment
Mod developers presumably already have a development environment set up. If not, please refer to the MDK setup guide of your modloader of choice. It is not a good idea to use modonomicon as a template for your own mod, unless you plan to make another book mod :)
Installing OpenJDK
Modonomicon uses the Forge, Neoforge and Fabric modloaders, which require OpenJDK 21 installed on your system. Start by installing OpenJDK 21 from https://adoptium.net/temurin/releases/?version=21.
Make sure to select your correct operating system, and a 64 bit version of the JDK.
32 bit is not fully supported by all modloaders.
If the installer asks to "Add Java to PATH" and or "Set JAVA_HOME" please accept / check the corresponding boxes.
Downloading Modonomicon Source Code
via Git
- Open terminal
- Go to a folder of your choice that you want to work in
- Run
git clone git@github.com:klikli-dev/modonomicon.git
If you know what you are doing you can also skip ahead by skipping step 4, as step 3 will give you the final version of the Demo Project, allowing you to directly edit the provided files.
via ZIP File
- Go to https://github.com/klikli-dev/modonomicon
- Click the green "Code" button
- Click "Download Zip"
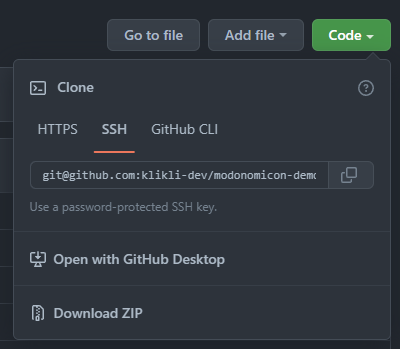
- Extract the downloaded zip file to a folder of your choice.
First Test Run
The next steps are required to set up a minecraft development environment allowing you to run the datagen as well as minecraft locally for testing the generated files.
- Open Terminal in the folder you downloaded and extracted the Demo Project to
- If you see the files
gradlewandgradlew.batyou are in the right folder
- If you see the files
Not sure how to open the terminal in the folder?
- Most Operating Systems will allow you to right click or shift + right click in the folder and select "Open in Terminal" or similar.
- Otherwise use the command
cdlike so:cd "<path to folder>"- Note: On windows you might first have to switch to the correct drive. If e.g. terminal shows
C:\\but your path starts withD:\\you can switch to the correct drive by running simplyD:(nocdor any other command/prefix required)
- Note: On windows you might first have to switch to the correct drive. If e.g. terminal shows
Running Minecraft
- Open Terminal in the folder you downloaded the Project to.
- Run
./gradlew neo:runClient. - After a few seconds (possibly minutes) Minecraft should open and show the main menu.
- Success!
Windows Users: If you are getting a message along the lines of command . not found try running gradlew.bat <...> instead of ./gradlew <...>